Aluminium Onewheel
Onewheel is a self-balancing electric skateboard with a single tire, used for personal transportation (Wikipedia). The company Onewheel produces these devices, and its name has become iconic similar to how 'Jacuzzi' is often used to refer to whirpools. Wikipedia does not list a name for such a contraption, and most people call it onewheel even though it is a brandname.
I will straight cut to the chase and give you a table of the specs.
| Description | Value |
|---|---|
| Free Running Speed | \(v_{\tau_{load}=0} = 20 \, \frac{km}{h}\) |
| Maximum Riding Speed | \(v = 20 \, \frac{km}{h}\) |
| Battery Voltage | \(V_{BMS} = 84 \, V\) |
| Max Battery Current | \(A_{BMS}^{max} = 200 \, A\) |
| Nominal Battery Current | \(A_{BMS}^{N} = 50 \, A\) |
| Motor Power | \(W_{motor} = 1000 \, W\) |
| Nominal Motor Voltage | \(V_{motor}^{N} = 48 \, V\) |
| Max ESC Current | \(A_{ESC}^{max} = 100 \, A\) |
100mm pliers for scale
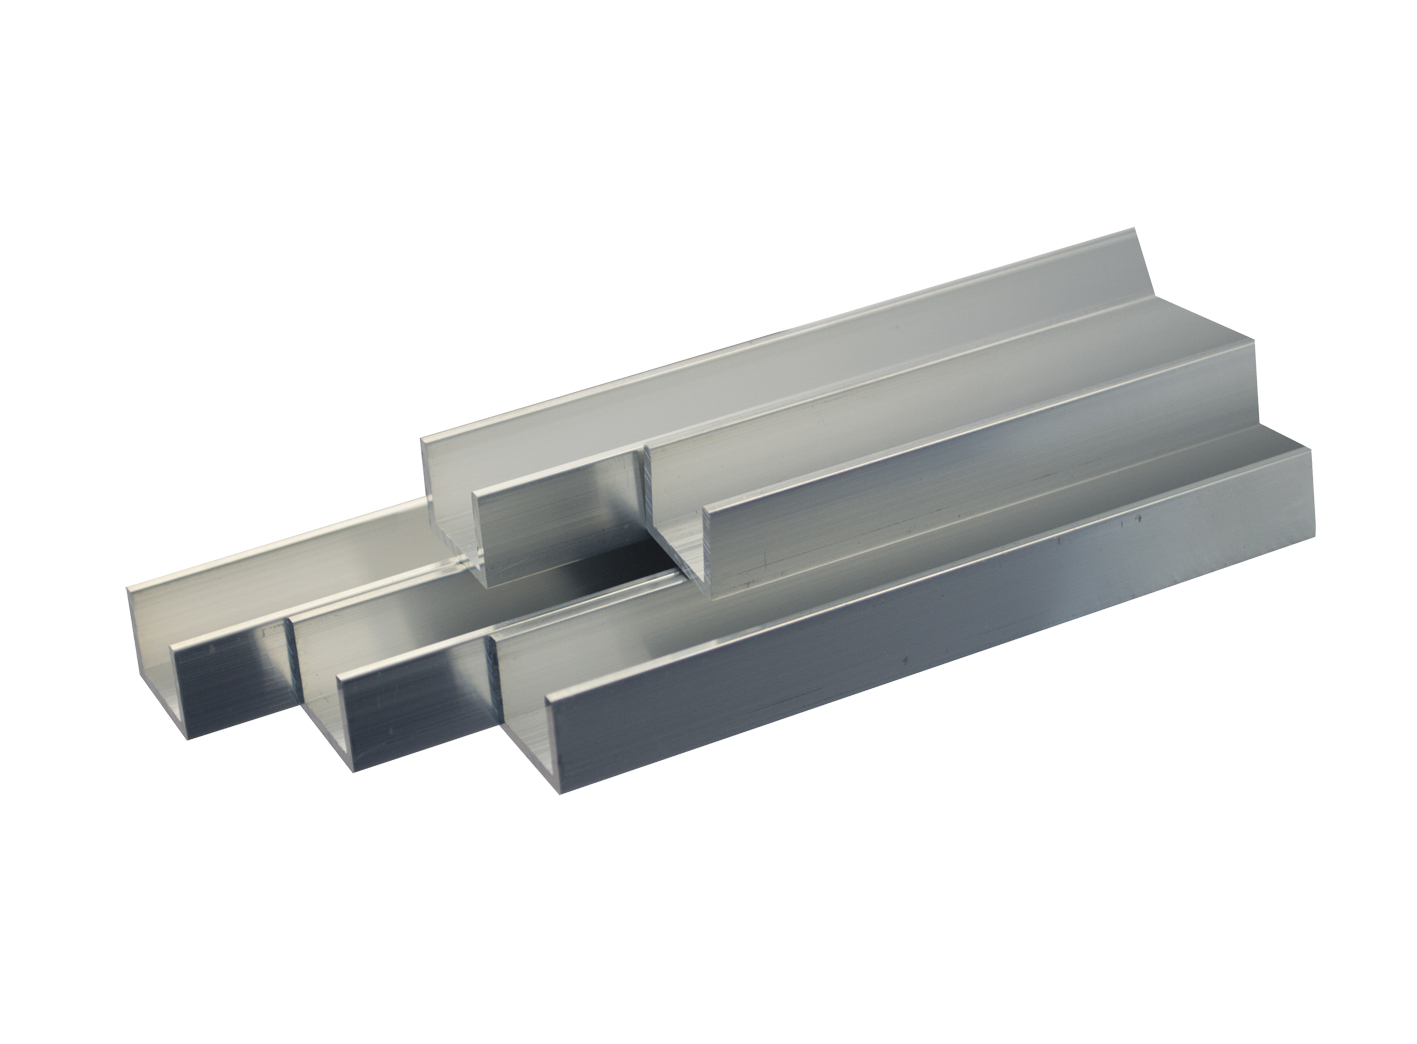
Materials

I decided to make a fully metal chassis due to previous experience. It is important to have a sturdy base to built on top. The main task is to create the space to hold the battery. The size of the battery would be roughtly \( 6 cm \cdot 24 cm \cdot 20 cm \). A sandwich style case like shown would be the easiest to realize. In the image to the right you can see three types of alu. The top one is a 3mm thick plate. It was super hard to cut through (leading to broben teeth on the handsaw).
So we have a plate to stand upon. Now we need beams to connect to the
motor and the other side. I would've liked an alu profile like 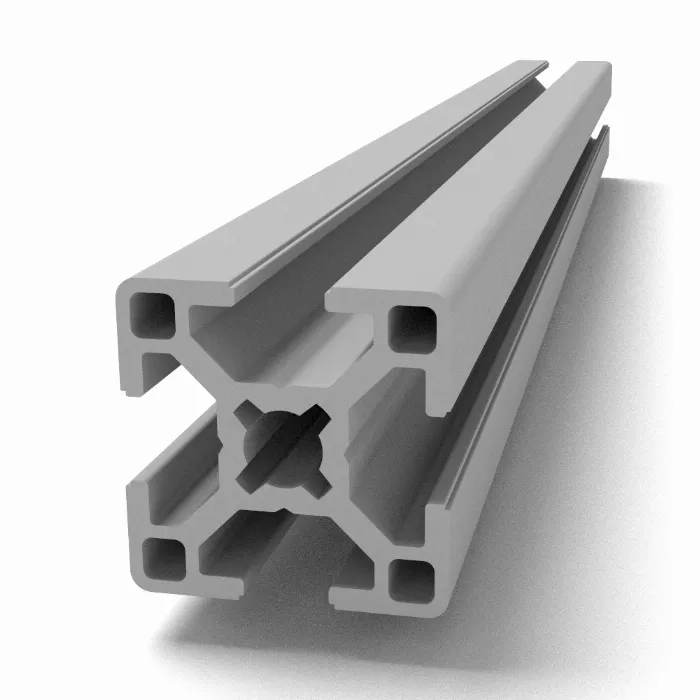 , but it would only be possible to buy online. The alternative was
square alu squre tubles. Due to the size of battery I bought 30x30mm alu
square tubes here, that are visible on on the bottom of the picture. The center alu is
super soft and was from an old construct.
, but it would only be possible to buy online. The alternative was
square alu squre tubles. Due to the size of battery I bought 30x30mm alu
square tubes here, that are visible on on the bottom of the picture. The center alu is
super soft and was from an old construct.
| Description | Value [€] |
|---|---|
| Aluminium (\(6m \cdot 30mm\cdot30mm\) alu squre tubes, \(28cm\cdot124cm\cdot3mm\) alu plate) | 52 |
| Hub Motor | 185 |
| IMU (mpu6050) | 2 |
| BSM | 26 |
| Cables (9awg) | 7 |
| Other Cables (micro jst), switch | 12 |
| Skateboard deck | 3 |
| ESC | 170 |
| Screws (one bag in bricocenter) | 7 |
| Force Sensor four times | 10.6 |
| Plastic squre tube endings | 3.42 |
| INR x48 batteries (42 total) | 100-120 🤷 |
| Plastic 21700 battery holder 1x4 x50 (enought for 100 batteries) | 10.16 |
| pure nickel strip (\(0.2mm \cdot 8mm \cdot 5m\)) only ~1.7m used | 6.39 |
| 84V charger | 23 |
| Wooden board | 12 |
Construction of the body
The only electrical tool that was used was a drill.
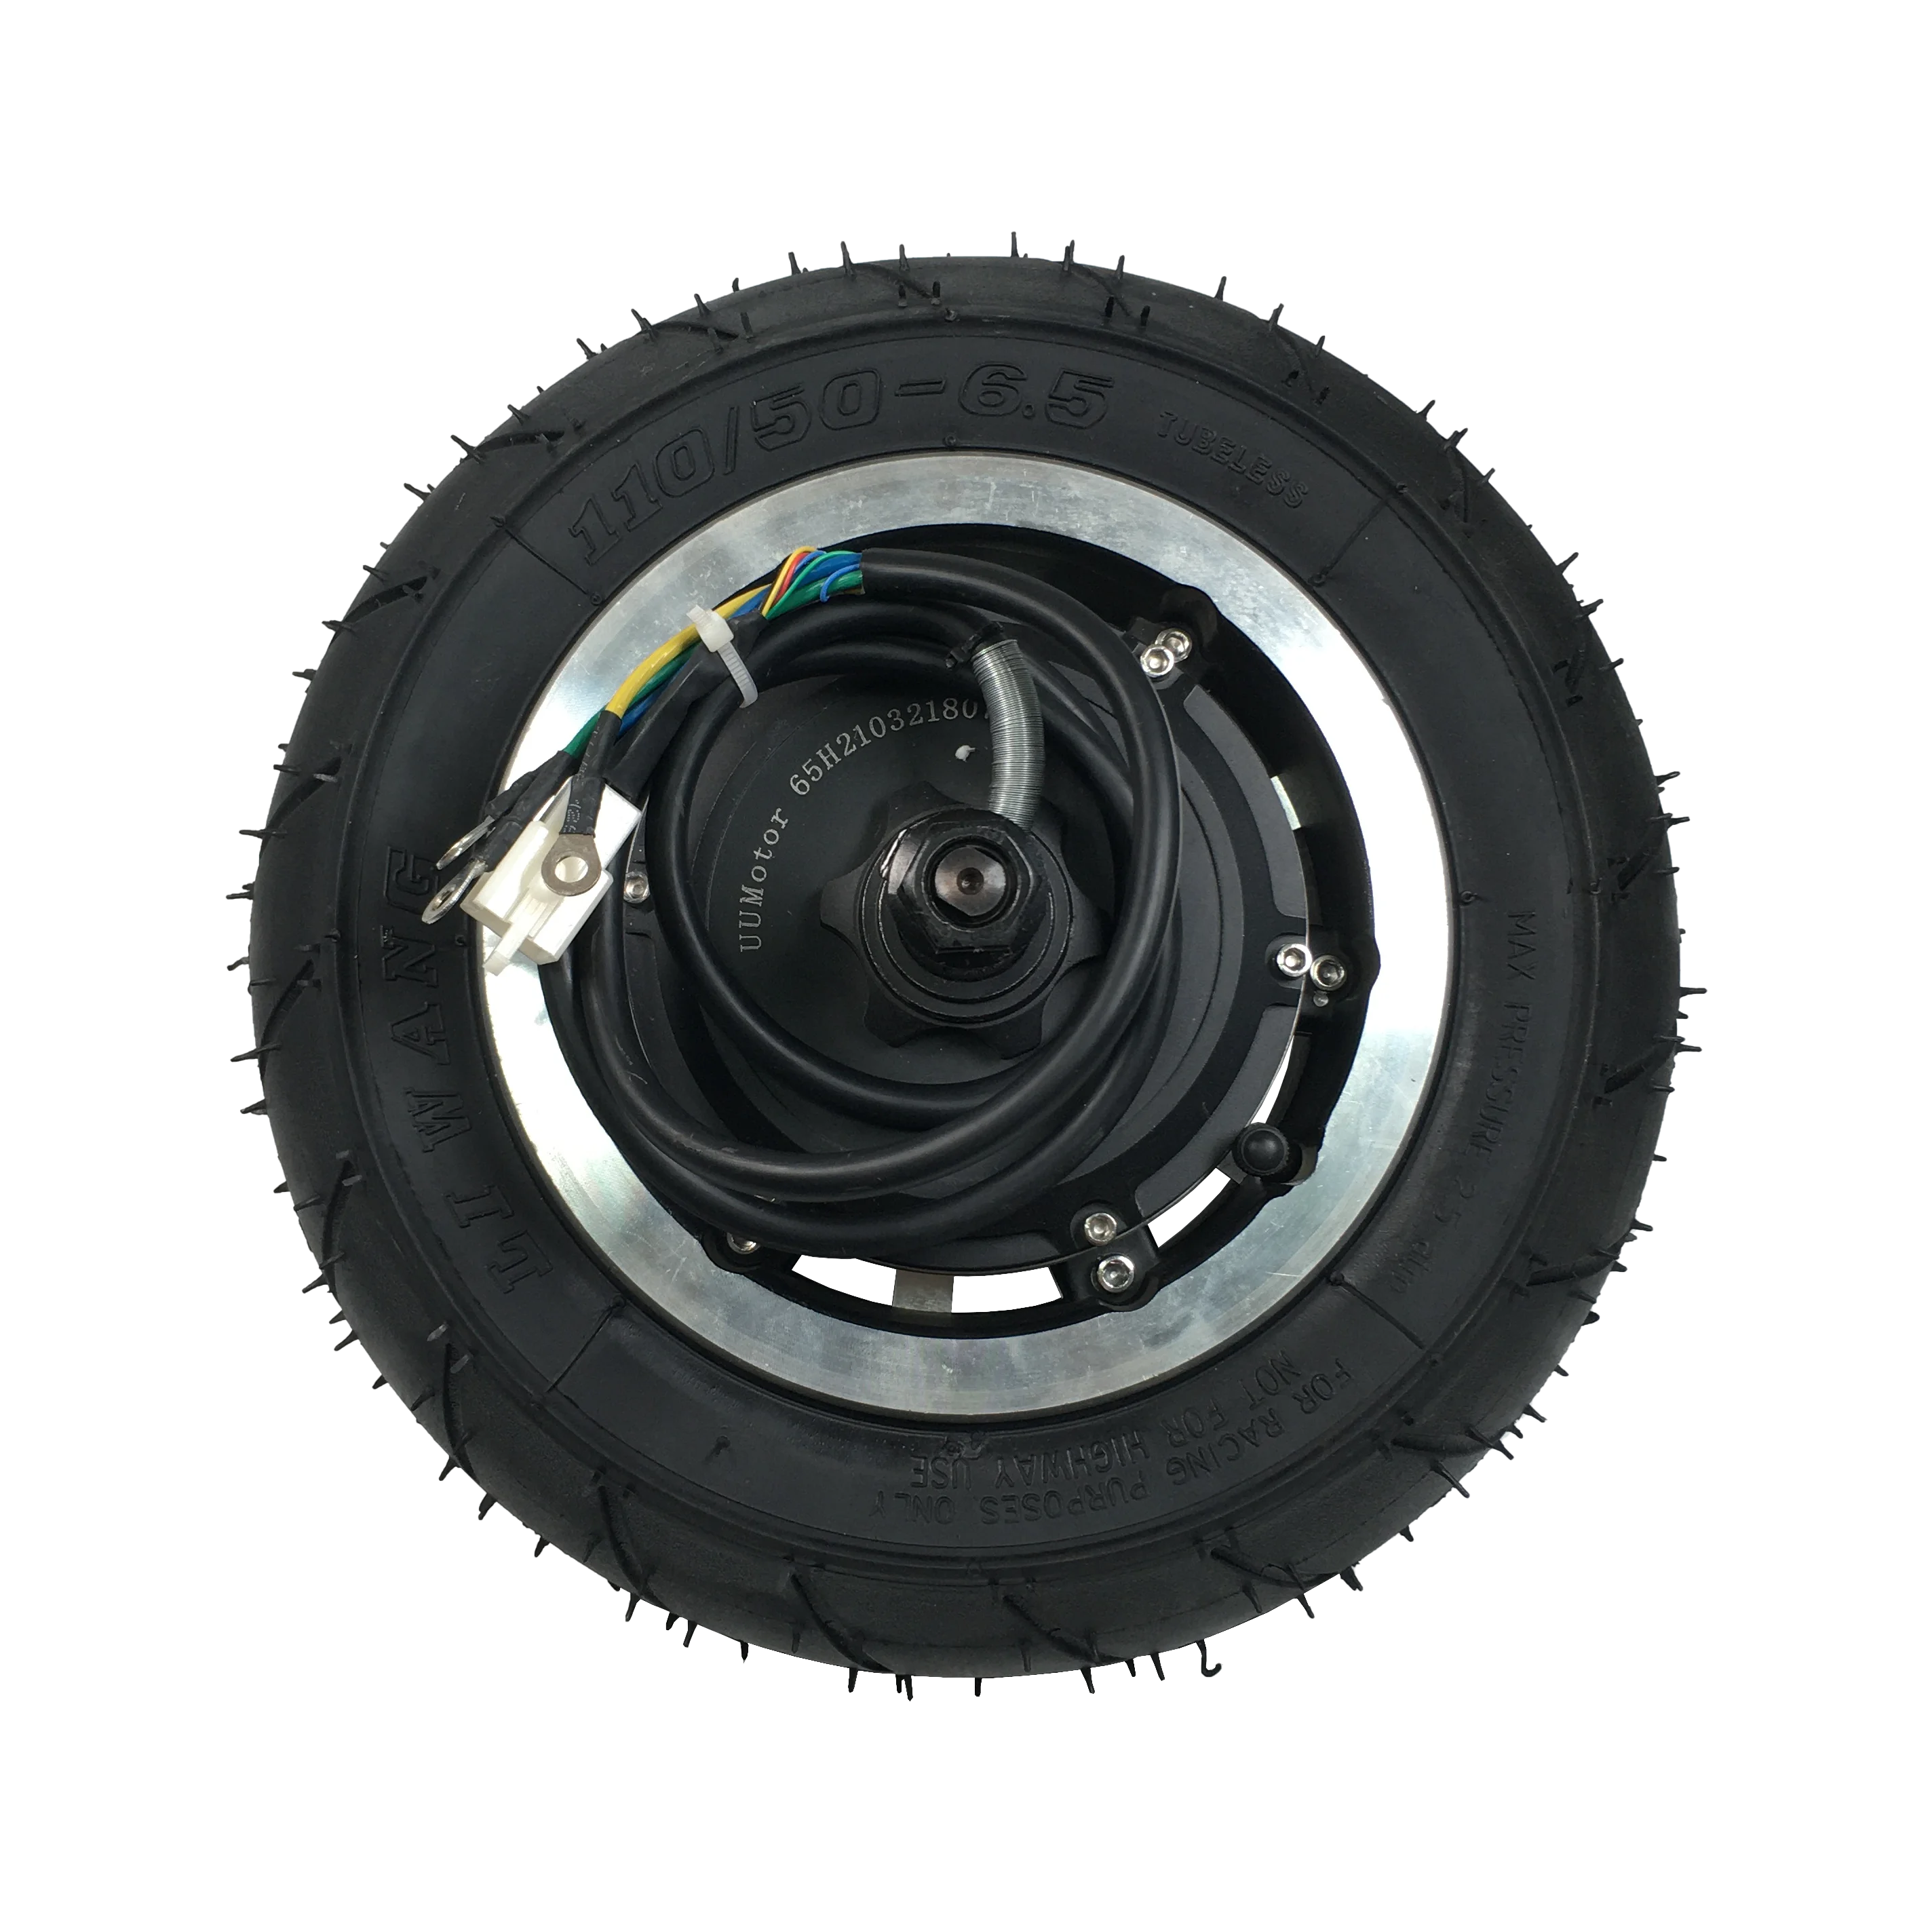
How can one connect the hub motor to the square hollow aluminum tubes? The hub motor has an M14 thread with a 1.5mm pitch. I cut pieces of the soft aluminum shown above to fit into the tube and stacked them to conncet the walles. This is janky but it works. After cutting the tuble with added margin and drilling the hole the alu was added inbetween and drilled through. The alu was tapped with the correct minor and threaded by hand for m14.
Now the alu plates had to be resized. They are very tough and require more time/energy to cut (the handsaw's teeth even broke).A hacksaw with 24tpi (teeth/inch) was used initially. My cuts are very poor and I left some tolerances.


Battery
 With 42 Samsung INR-48X
batteries. The number of battery configurations are limited. To obtain
higher speeds I opted for a 20s2p configuration. This means 20 batteries
in series (adding their voltage to 84V) and all of them parallel to another
chain of 20 batteries. The photo on the right depicts the BMS (Battery Management
System) that keeps the cells healthy.
With 42 Samsung INR-48X
batteries. The number of battery configurations are limited. To obtain
higher speeds I opted for a 20s2p configuration. This means 20 batteries
in series (adding their voltage to 84V) and all of them parallel to another
chain of 20 batteries. The photo on the right depicts the BMS (Battery Management
System) that keeps the cells healthy.
Construction of the battery
The batteries were in storge for more that one year. I measured the voltage and noticed they were correlated with the buldging of the battery. The worst 2 of the 42 batteries were not used. After putting them into the plastic holder they have to be welded together. This would happen with \(2mm \cdot 8mm\) nickel strips. Apperently that would suffice for 10A sustained.
These batteries have a transparent plastic coating on the outside of their body. The top side is positive. Sometimes it would happen, during soldering iron that can melt the plastic that a short would happen. Sparks fly everywhere. If a piece of metal (like the metal strips) is accidently placed to make such a short it gets literally evaporated witch is objectively rad. On the right picture the nickel strip got burnt on the upper corner.


After spotwelding all the connections of the battery it has to be
connected to the bms like the instructions say. Due to the space
contraints the battery was hard to assemble and install. By accident the
bms let 100A-200A draw out of the battery for some seconds. Sparks flew
everywhere. But there does not seem to be anything damaged on the bms.
The ESC was fried. I did not opt to install the 70A fuses but restricted
the maximal dischare current of the bms to 70A in software.

Cables of the motor and the battery have to be routed inside the upper aluminum beam.
Software
screenshost come
ESC
The ESC's (slectronic speed controller) job is it to control the motor. Here the ESC is 84100HP and is running VESC firmware.
Sensors
IMU
Pressure Sensor
The complete album here. Consider leaving an anonymous comment or log in with your mail.