Why use small keyboards?
Keyboards come in different sizes. When you talk about keyboard sizes you talk about the number of keys. Most normal consumer keyboards are 104% (104 keys, it is common to add the %). Choosing another uncommon Keyboard size and customizing it to your needs can be great. A curated list for switching to a small keyboard:
What keyboard sizes are there and how to choose the 'correct' size? In the end there is no correct size and you just have to try and choose.
The keycaps are maybe the most important part. They contribute a lot for the took and feel of a keyboard. Here are some keycaps I've tried.
 These keycaps are my favorite uniform keycaps for the choc v1. They feel
great and come in different colors. They are PBT and they have a textured
top so thery're rather grippy. They are also not too expensive with
~4.5€/10PCS (blank white). They also come with legends if you prefer this.
Oddly the keycaps cannot be sourced via Aliexpress or similar but they are
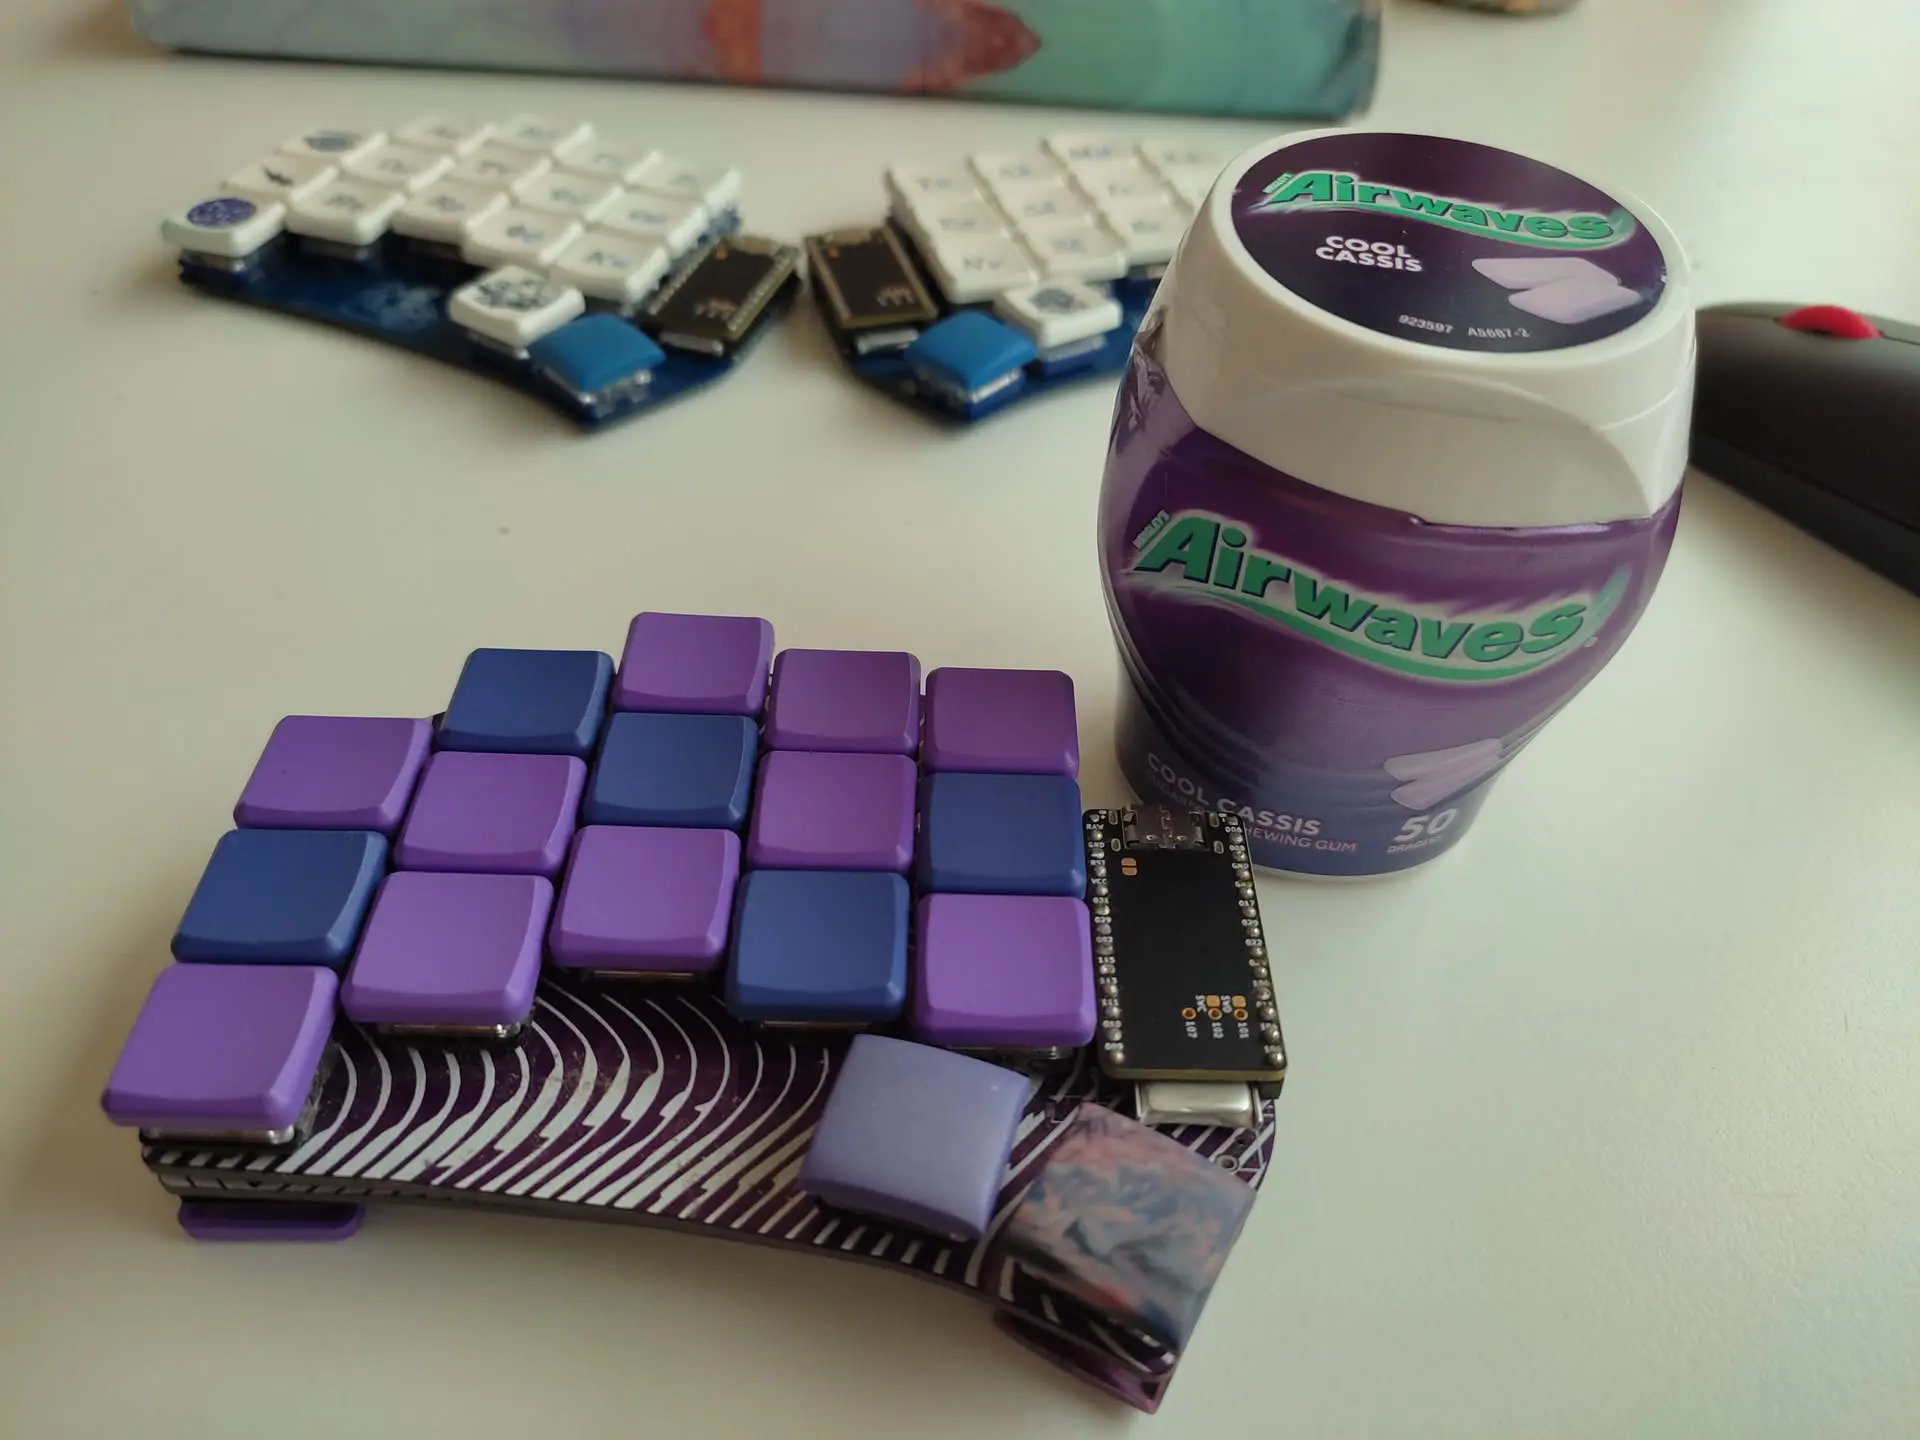
available in several sources (fkcaps.com/). They also have homingkeys (these are keys with little dots on the
center so one knows where the keys for the index fingers should rest). On
the right we can see the "violet" purple and "lavender"
purple colored MBK keycaps on one keybaord.
These keycaps are my favorite uniform keycaps for the choc v1. They feel
great and come in different colors. They are PBT and they have a textured
top so thery're rather grippy. They are also not too expensive with
~4.5€/10PCS (blank white). They also come with legends if you prefer this.
Oddly the keycaps cannot be sourced via Aliexpress or similar but they are
available in several sources (fkcaps.com/). They also have homingkeys (these are keys with little dots on the
center so one knows where the keys for the index fingers should rest). On
the right we can see the "violet" purple and "lavender"
purple colored MBK keycaps on one keybaord.
The Colored one
might be a tad more expensive (6.9€/10Pcs).
There are also crystal
reflective one that are a eyecatcher but they feel glossy and slippery
(available on keycapsss.com/ 9€/10Pcs).
These are probably my most favorite keycaps. I'm talking about the Chicago
Steno by pseudoku. Each Keycap is in effect hugging the finger. The
homerow keys (that are the keys where the resting finger lay) are
horizontally/vertically symmetric, they have vertical grooves in them
which make the fingers feel securely in them.
The bottom and the top
row keycaps are similar to the homerowkeys. They however are slanted to be
more perpendicular to the fingers when trying to press them. This makes
everything seem fitting.
The thumbs are also very
interesting.
There are different keycaps pseudoku designed for the
thumb cluster. In the picture above of the purple keyboard we can see two
thumb keycaps that are convex. I actually prefer that they are sculpted in
such a way that they make a large indentation that is 2u long, so the
right keycap is resembling a right halfpipe, while the left is resembling
a left. Due to the fact that the purple/red artisan keycap is only
availabe in this convex form factor I had to make consequences.
Regarding
on this note it would also maybe would've been better to adjust the
innermost colum where the center key is not part of the homerow to some
degree to easy the effort of overcoming the hill between the innermost and
second innermost column.
Some words about the texture and color:
elaborate
on fdm and pla/pbt. and artisan.
Name: Chicago Steno
Specific Key: CS Bottom/Top
Compatible: Kailk Choc v1
Model by Pseudoku (github).Grid Squares: 1mm unit each
The switches to actually actuate the keypress are usually mechanical, this means they have a spring in them which gets compressed before the key bottoms out. The springs have different strength and they are three main types of switches that categorize the feel of the switch. There are Blue switches that are clicking and are noisy. The forces that have to be applied to steadily press them down is not linear due to the mechanical guiding system of the switch. The "Red" switches are linear actuators, that mean they linearly require some force dependent on the distance traveled. They don't provide any visual/auditoral feedback when they actuate. The Brown switch is a tactile switch. Meaning it is not linear and the force of triggering a press is higher right before the press. After the actuation point the force/distance required to bottom out is decreasing again.
Kaihl Choc V1switches are also known as PG1350.
These switches are known for their slim design, making them ideal for
portable wireless keyboards. They come in different variants. A list of
the variants can be seen
here. Because of their limited height they inherently provide less travel and
some may say a worse feeling.
The switches can be taken apart
and lubed with dedicated keyboard lube. They also can be tape modded. They
are fairly cheap and can be sourced form Aliexpress or similar. If we zoom
into the switch we can see that it is a blue switch and that a piece of
metal gets flug if we overcome the point of actuation.
Personally I
do like the red switches but everyone has to decide for themselves.
Name: Kailh Choc v1 Blue
Pre Travel: 1.5±0.5 mm
Total Travel: 3.0±0.5 mm
LED support: ✅
The way the switches are mounted is rather traditional. The switches don't
have the same spacing that the MX switches use (cherry standard is 19.05
mm in the vertical and horizontal). The Choc spacing is 18mm in the
horizontal and 17mm in the vertical. This means that the keycaps have to
occupy the same spacing to remove any gaps. This in turn means the
keycaps cannot be rotational symmetric unlike the cherry ones. They stem
is slow slits where the keycap slides in rather nice.
In the
following model a choc v1 switch mounted on a PCB is displayed. It can be
noted that the two pins on the top side of the switch belong to a led that
can be put inside of the switch.
Name: Kailh Choc v1
Pre Travel: 1.5±0.5 mm
Total Travel: 3.0±0.5 mm
LED support: ✅
Every Keybaord has a PCB which is a green slab of silicon that has traces
of copper to connect the components of a keyboard to allow functionality.
Most of the time it is green ridgeg (not for a Dactyl Manuform type
keyboard) with a thickness of 1.6mm. Some curated list of open source
keyboards:
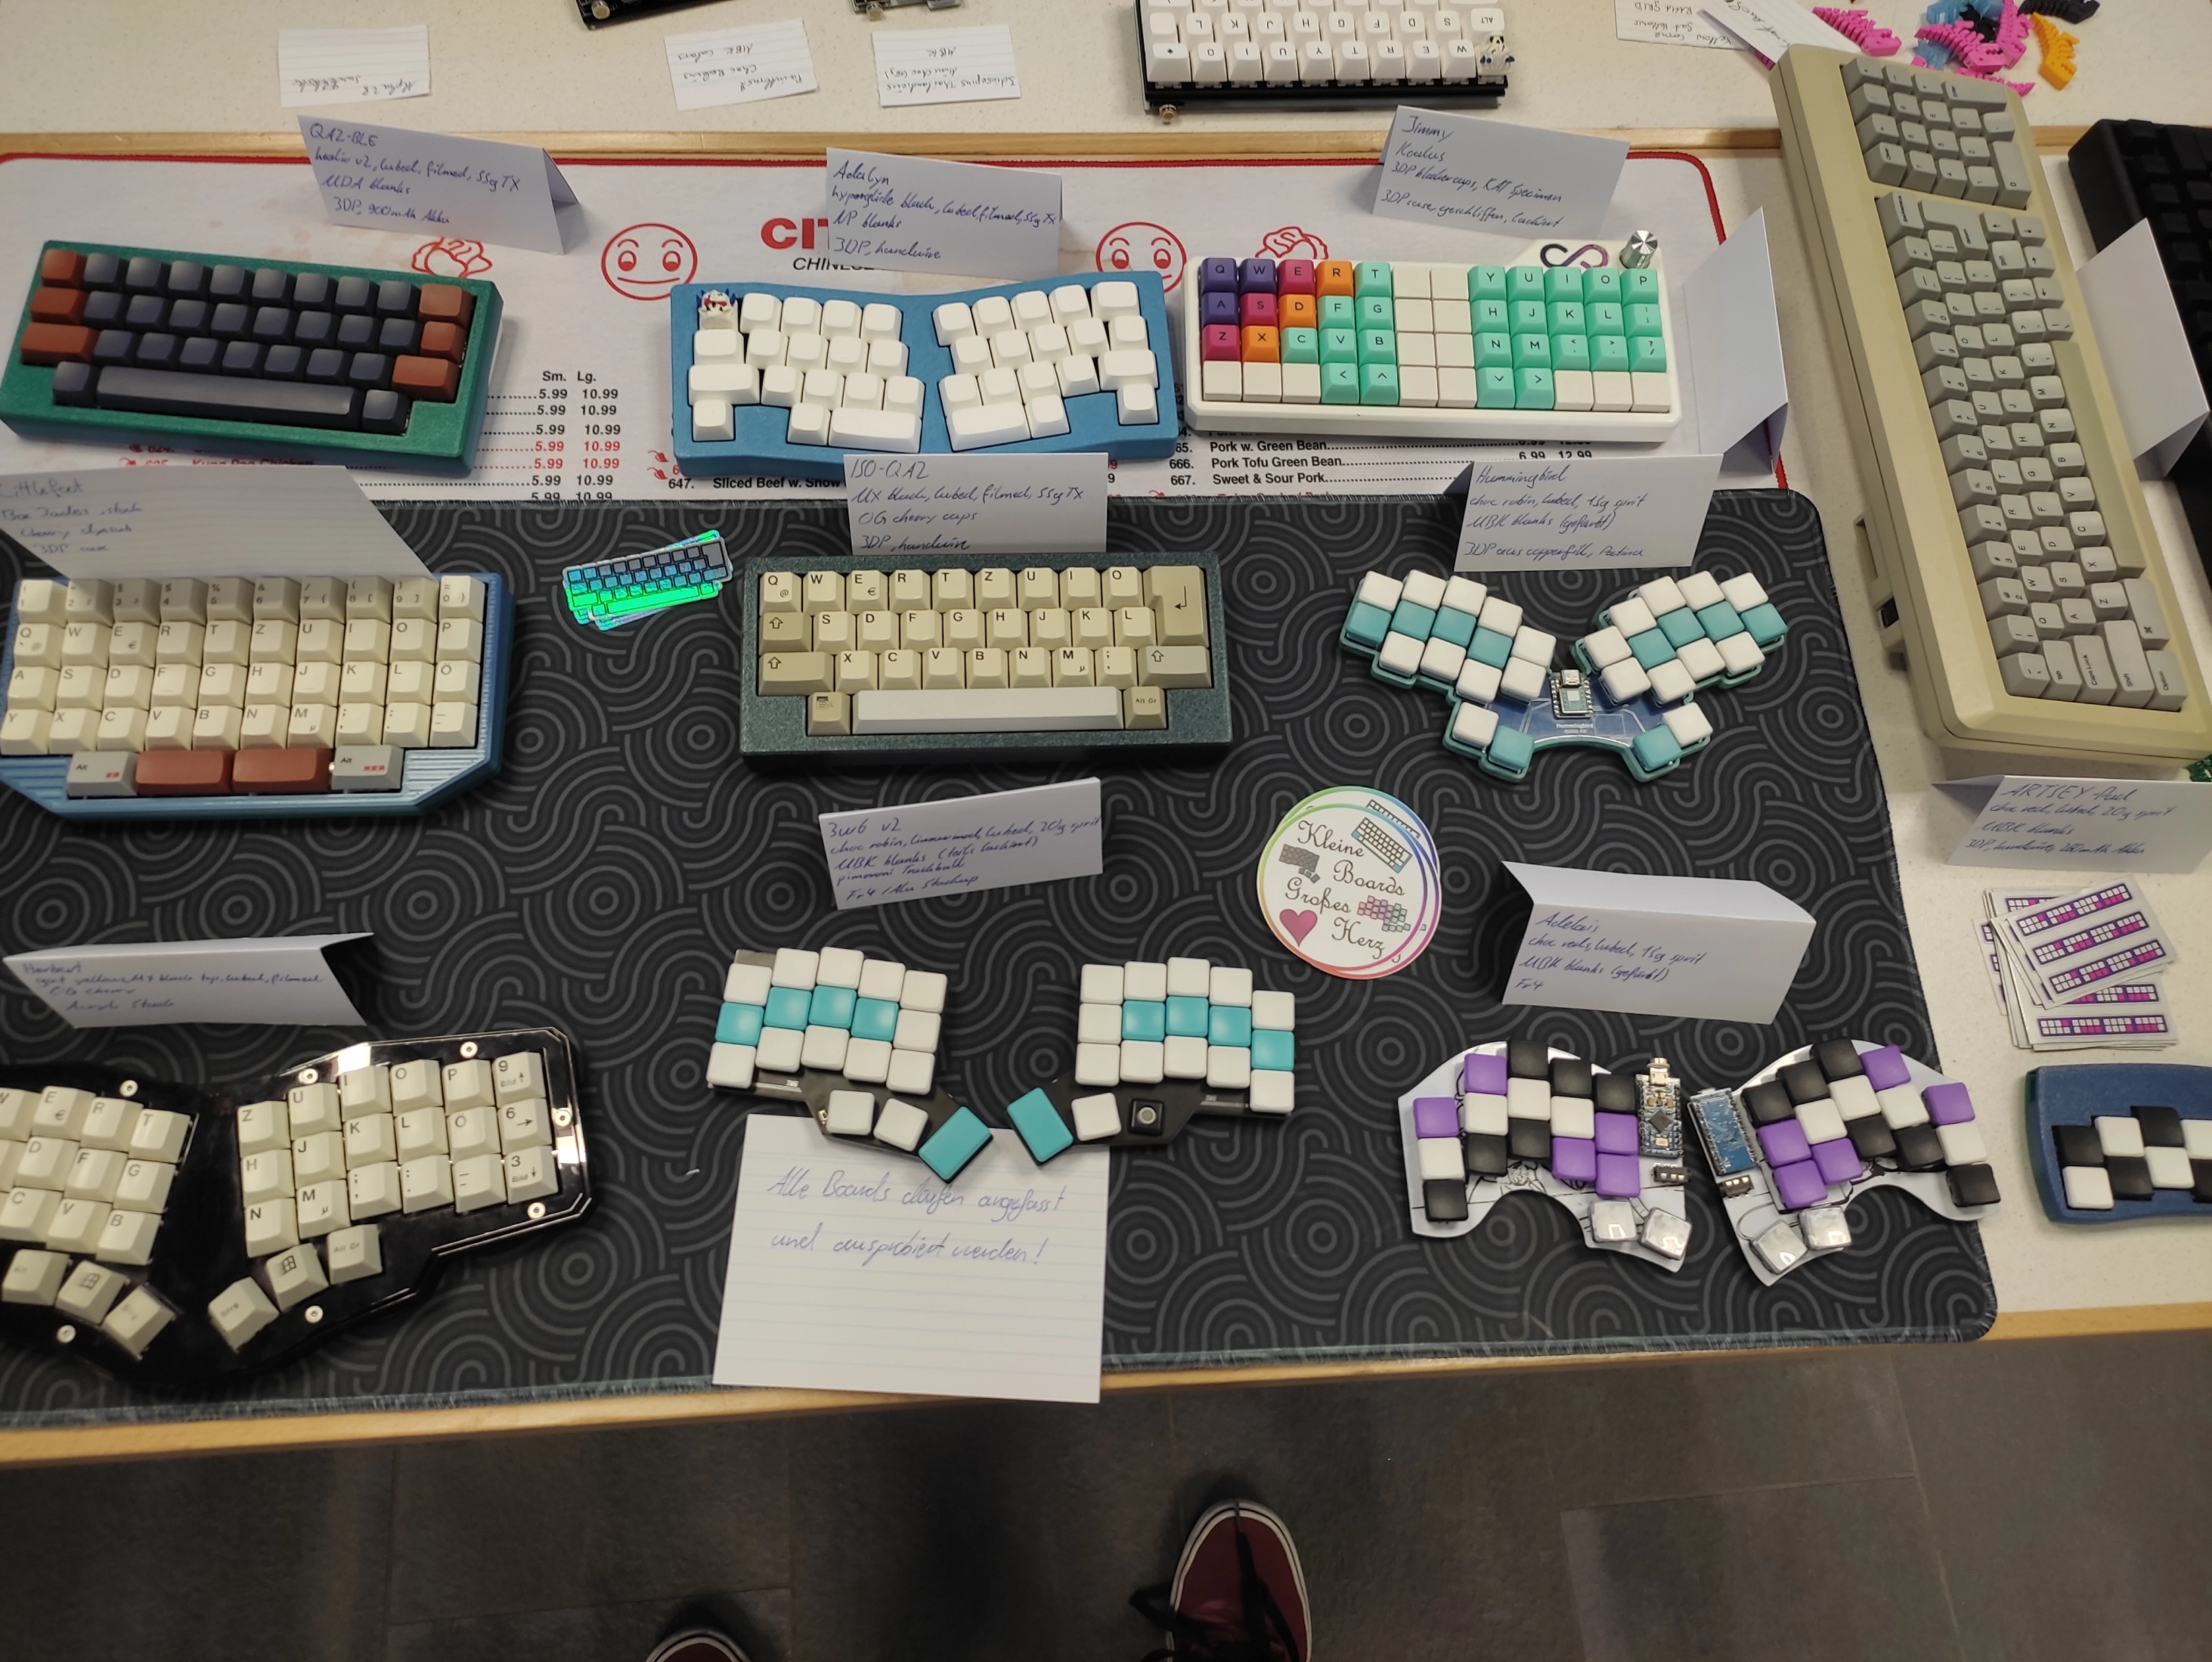
Nevertheless to really discover the keyboards one has to lurk in discord or visit the sub of r/ergomechboards or similar to really get inspired. Also talking to people and going to meetups helps a lot.
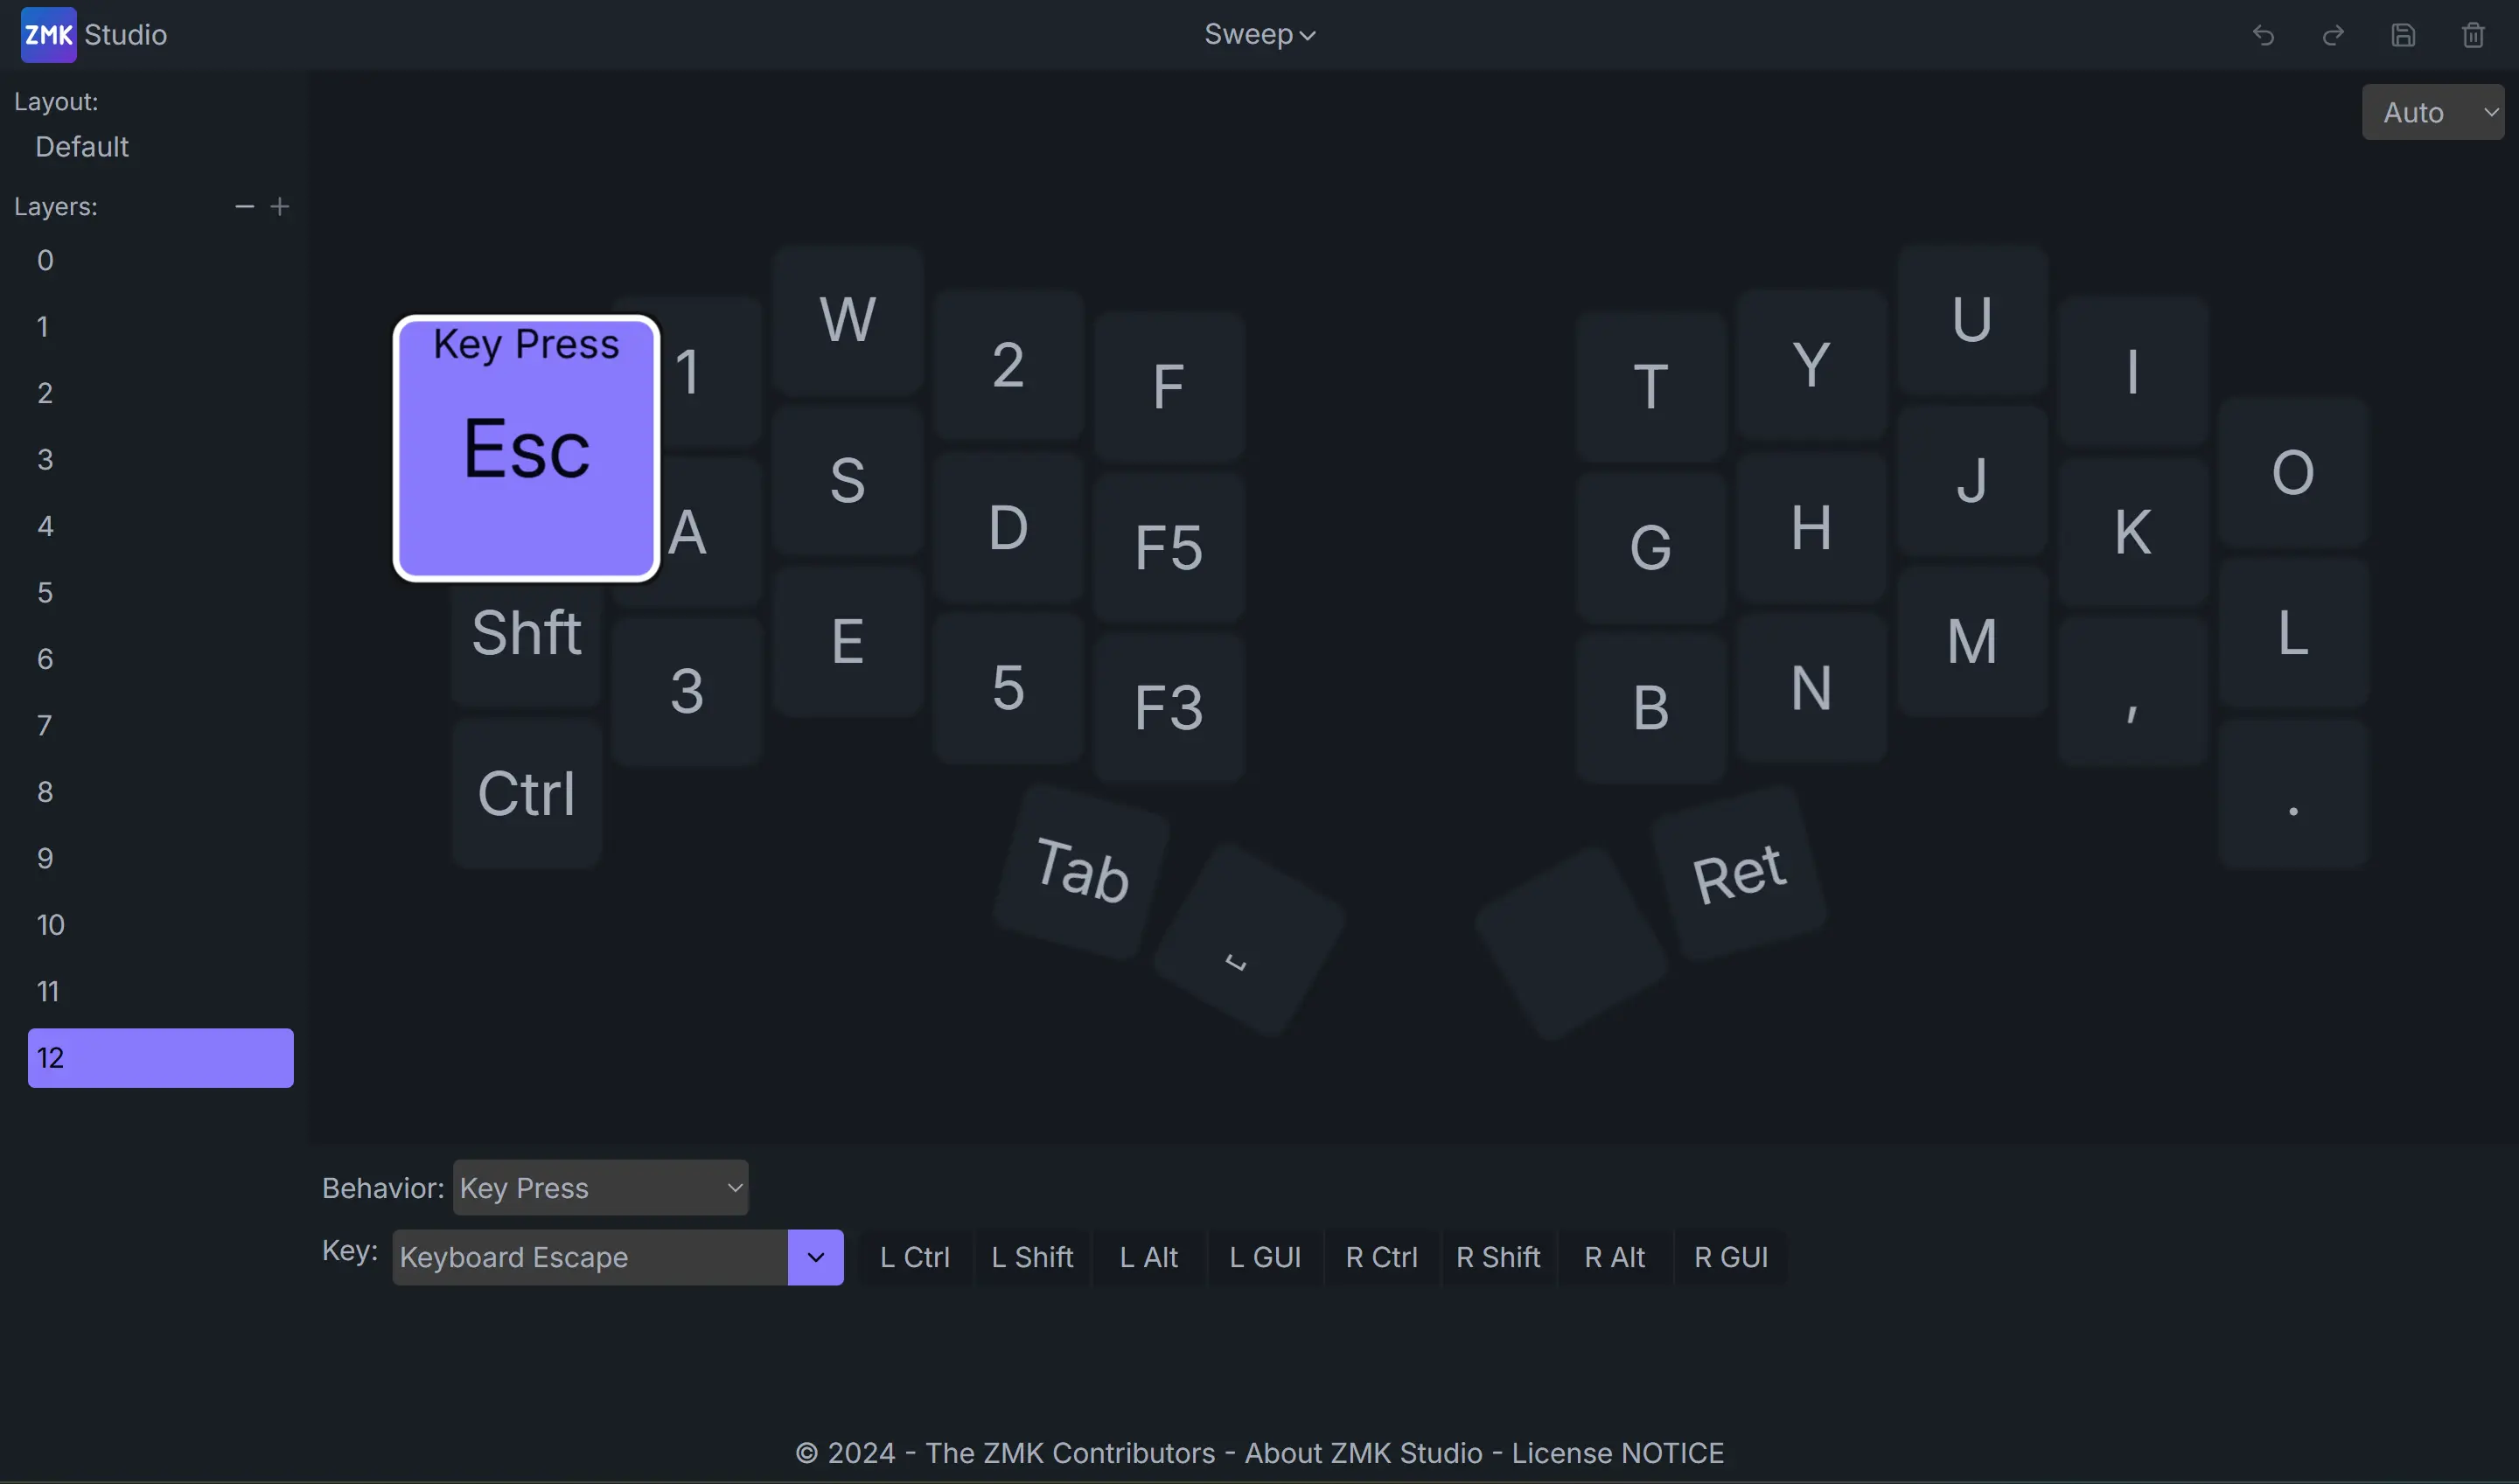
My absolute favorite for the past couple of year is the
Sweep. It is a 34 key split keyboard with no features really. Simplicity.
Almost all keyboards also provide their source so you can just open the
project with the proper app (here KiCad) and modify it if needed.
Sometimes (like here with the sweep) they also include the compiled gerber
files (files that you can give the manufacturer to produce the PCB) in the
release page.
Why would I need to modify the PCB.
You don't but
you can. There are some advantages.
The price of manufacturers differs depending on the size and requirments
of the PCB. So far I would say that you cannot go wrong with
JLCPCB.
You want to
have some number: The price for 5Pcbs is round 20-30€ but keep in mind
this is for a small keyboard.
People would say that a case is mandatory for a keyboard. I disagree. As
you've seen earlier in section MKB you can build keyboards without a case.
The structural integrity of the PCB is more than enough that the keyboard
feels and is sturdy. In all those yearn nothing every happened to the
keyboards except some switches breaking when the keyboard falls on the
ground. But a case can contribute to the look and feel of the keyboard.
For example the background image of this page is my self made 5column
Corne with an cast acrylic case. Next to it is a 2% milk (just a milk
carton with two buttons). The acrylic sandwich is the eye-catcher of this
corner, even though it also has really nice switches.
In the keyboard
community it important to have a nice case. CNCed metal with a nice
ingraving in the back is highly regarded one of the best cases.
For the pins headers we can repurpose LED strip pin headers. They have the
correct size and don't cost anything. I used to buy specialized keyboard
pin headers but they don't bring any benefit.
Why do we want
pin pin sockets? Why don't we just solder the pins to the controller and
into the PCB?
Sure we could do that but we have the space (the
battery is usually under the MCU) to make the decision to use pins and
sockets to later allow the controller to be hot swappable. In case the
controller breaks we can solder pins to a new one and plug it in. The
sockets and pins don't add a lot to the cost. The sockets are spring
loaded that means no screwing and just placing it in there once.
If the keyboard is intended to be used wirelessly then a battery is
mandatory. Usually the battery is under the MCU and has the following
dimentions. 32mm x 12mm x 4mm. The model of such batteries are 301230
and they often have a capacity of 80-110mAh. The battery life of wireless
keyboard running zmk is usually several months. There are also coin
battery, solar and AAAA battery powered keyboard but they are rare because
3.7v lipo batteries are so good and they prove easier to charge. Virtually
all wireless keyboard controllers have a lipo battery charger
integrated.
For a rough estimate on Battery life with ZMK
see Battery Profiler and choose nice!nanov2.
Where to source lipo batteries?
Batteries
can be bought from Aliexpress. The shipping is horrendous expensive and
takes a long time. I would recommend buying several batteries. Maybe
5€/Battery can be calculated. The Capacity of the batteries cannot be
trusted. There is just no other choice.
The software (firmware in the case of keyboards) is very important for customizing the keymap. There are many different keyboard firmwares available. A list can be seen here. The takeaway should be if you go with a wireless keyboard go for ZMK. If you go wired you can also go for QMK.
ZMK is a wireless first keyboard firmware. The use guide is easy to
understand and it has a wide compatibility (basically any ARM
chip). ZMK has a
lot of tools like a Battery Profiler to estimate the battery life of a given keyboard. Usually you can
keep using your key months before you have to charge.
The community
constanty pushes out features. It is completely open source.
No code
is actually needed to setup a keyboard with the new zmk.Studio. Of course zmk has everything you would need like mouse support, macros,
mod morphs and much more.
Get started with ZMK you'll just need a Github account and a few minutes!
As an example of a keymap I'd recommend visiting
KeymapDB to get
inspired from. But in the end it is a process that takes to grow your
keymap naturally. I'm currently using Colemake DH. But there are so much more better ones than QWERTY so please consider
switching. A list to some: kinesis-ergo (mainstream alt layouts), list alt laytous on getreuer.info, His Guide Is Very Good.
cyanophage.github.io is sooo good to compare layouts! For example in the source of
getreuer.info we can see that apparently Focal does very good and has
little SFB (same finger biagram (two consecutive presses with the same
finger)) and thus is seems very good. If we use the comparison tool and
compare colemake dh (Effort 535.05) to Focal (Effort 537.85) we can see
the effort is the same. Always use different compare tools and adjust the
effort per key with personal tendencies in mind. In the end it does not
really matter compared to QWERTY which has a huge effort (1258.34) and is
inferior to almost all other keymaps. I personally use the popular
Colemake DH (2014).
If you really want to dive deep in to the rabbit
hole look at stenography.
This is my personal opinion. I don't think the keyboard layout matters too
much. I would not put letters on the thumb, I'm file with space and shift
on the thumb that's already enough for me. In fact I only use one of the
right thumb keys.
If you are interested you can look at the
image on the right to see my personal keymap (see XML drawio graphics,code for Keymap on Github). I only type English but it can be useful to be able to type on other
peoples devices with other input methods. This requires some configuring
which I did.
I recommend to go with US International as a
input method. Dead keys or no dead keys does not matter as long as we
define the macros for the keycodes properly. Example for ' (Single
Quote/Apostrophe) I use a macro that types Single Quote plus space
afterwards. Ä is " double quotes plus A and so on. If you want it simple
just stick with US layout.
Some Recommendations:
Break
free of the shifted symbols. If you have a dedicated key to do the
parenthesis you don't need Shift(9) to produce (. My Shift(9) produces ?
instead and Shift(8) is #. My Shift(3) is not # but it generates '.
Some people might not care too much about the cost of their keyboard.
It'll be around for years and important especially if you work in an
office. I'll provide a real world example of a keyboard and the price to
build it.
Economical tip: Look on Aliexpress first before sourcing
from local shops.
| Name | Price[€] |
|---|---|
| Batteries | 10 |
| PCB | 25 |
| Keycaps | 20 |
| Solder Equipment | 50 |
| Solder Material | 2 |
| MCU | 7 |
| Switches | 30 |
| Sockets/Pins | 5 |
Assuming you have some soldering hardware you can expect to build a keyboard for less than 100€. Some prices change. The controllers used to be 30€ each now they are actually less than 5€ per MCU. MBK keycaps are manufractured less and prices have risen. This table is just giving a rough estimate and it is not timeless so take it with a grain of salt and just do your own research. Leave an anonymous comment and let me know your thoughts.